How to Paint Kitchen Cabinets: A Step-by-Step Guide
Learn how to paint kitchen cabinets with this practical step-by-step guide. Discover the right preparation, primer and paint for a neat, lasting finish.
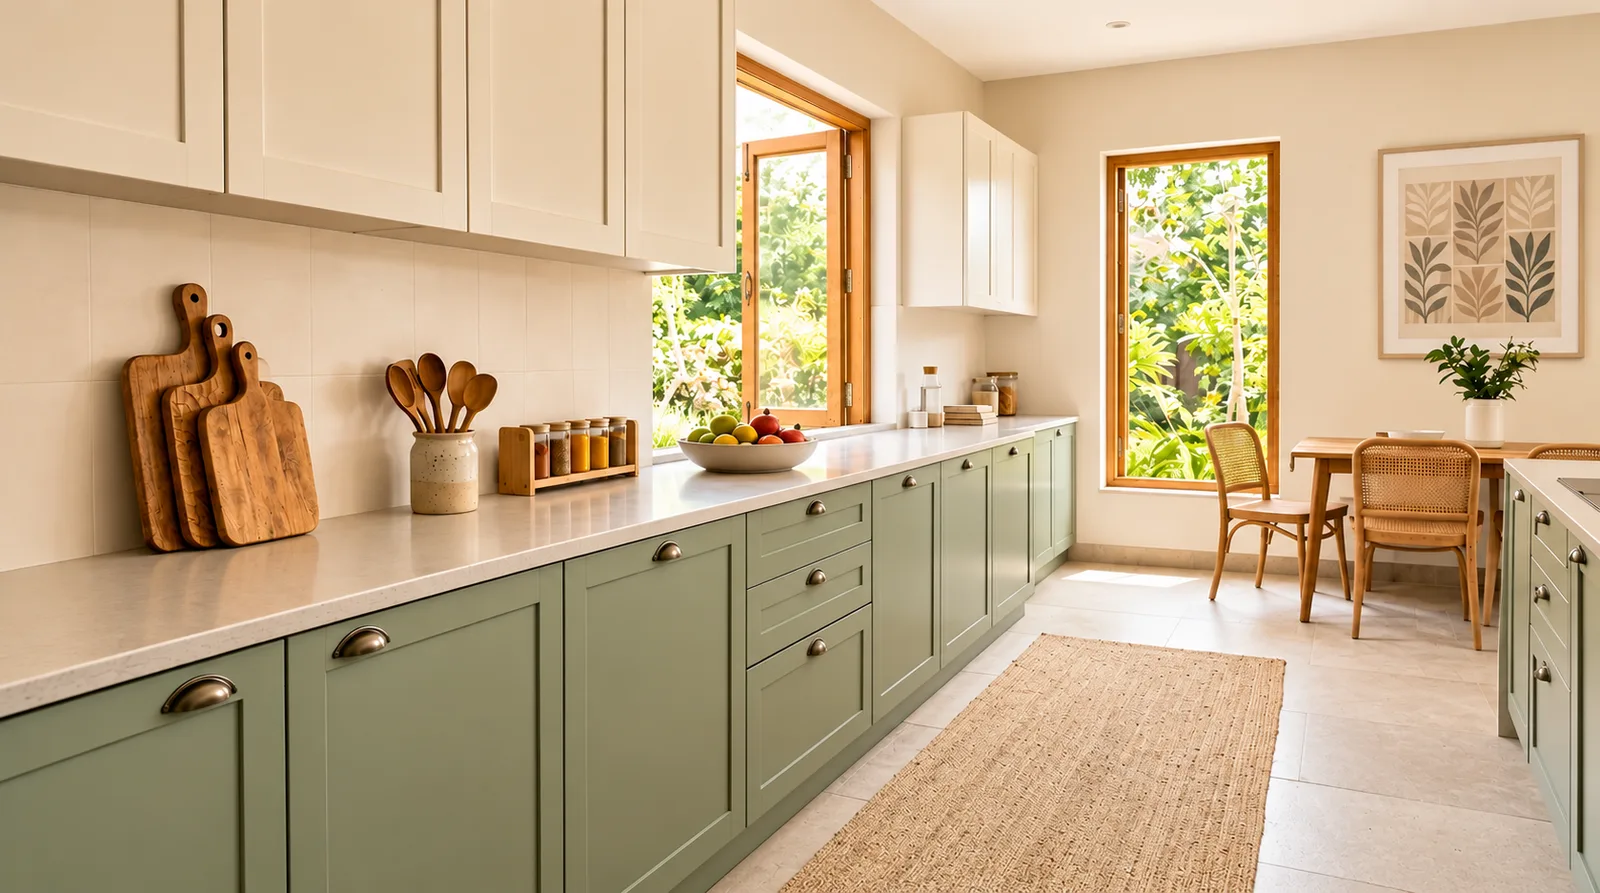
Updating your kitchen does not always require replacing the cabinetry. A fresh coat of paint can give dated cupboards a cleaner, more contemporary appearance while allowing you to retain the existing layout and countertop structure.
However, achieving an ultra-smooth, factory-grade finish takes more than picking an attractive color palette. Thorough degreasing, systematic disassembly, high-adhesion primers, and patient application make the difference between a durable transformation and peeling paint. This guide walks you through the essential materials, surface preparation, and step-by-step techniques for painting kitchen cabinets like a professional.
The Professional Painter's Secret
Never skip chemical degreasing. Kitchen cabinets accumulate invisible layers of cooking oils and steam residues. Washing thoroughly with TSP (trisodium phosphate) or a heavy-duty degreaser is vital for permanent paint bonding.
What You Need Before Painting Kitchen Cabinets
Gathering all necessary tools and finishing supplies before taking your kitchen apart prevents frustrating delays and ensures a consistent finish across all cabinet panels.
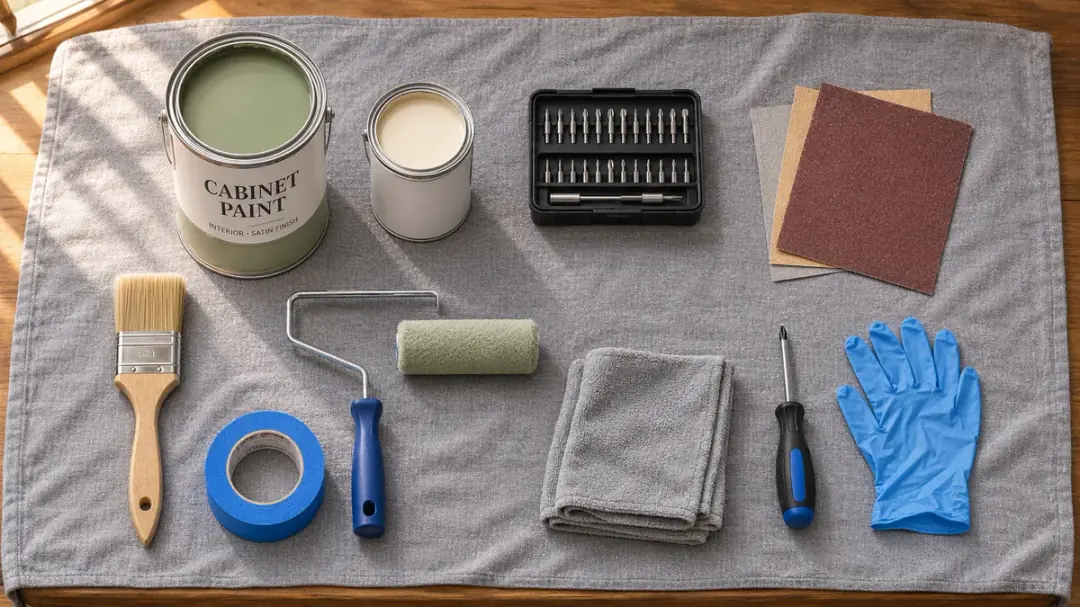
Essential Toolkit and Materials:
- Cabinet or Furniture Enamel: Choose a dedicated polyurethane or waterborne alkyd enamel in a satin or semi-gloss finish.
- High-Adhesion Bonding Primer: Essential for sealing raw wood, MDF, or slick melamine surfaces.
- Heavy-Duty Degreaser: TSP substitute or specialized kitchen cleaner with lint-free microfiber cloths.
- Sanding Supplies: 120-grit and 220-grit sanding sponges and fine finishing paper.
- Application Tools: 2-inch angled synthetic sash brush and 4-inch high-density foam mini-rollers with paint trays.
- Hardware Organisation: Screwdriver, painter's tape, permanent marker, and resealable sandwich bags.
- Surface Protection: Canvas drop cloths, rosin paper, and painter's plastic sheeting.
- Safety Equipment: Nitrile gloves, safety glasses, and a particulate dust mask.
Cabinet Paint Finish Comparison
| Paint Formula | Durability Rating | Drying vs Curing Time | Cleaning Ease | Best Used On |
|---|---|---|---|---|
| Waterborne Alkyd Enamel | High (cures rock-hard) | Dries in 4 hrs; cures in 21 days | Excellent stain resistance | High-traffic family kitchens |
| 100% Acrylic Enamel | Medium-High | Dries in 2 hrs; cures in 14 days | Easy soap-and-water cleanup | Low-VOC living spaces |
| Oil-Based Enamel | Maximum hardness | Dries in 8 hrs; cures in 30 days | Heavy scrub resistance | Historic solid hardwood units |
| Chalk Paint (Wax Sealed) | Moderate (susceptible to steam) | Dries in 1 hr; cures in 7 days | Requires periodic re-waxing | Rustic farmhouse accent islands |
How to Prepare Kitchen Cabinets for Painting
Surface preparation accounts for roughly 75% of a successful cabinet painting project. Cutting corners during preparation almost always leads to chipped edges and peeling doors within months.
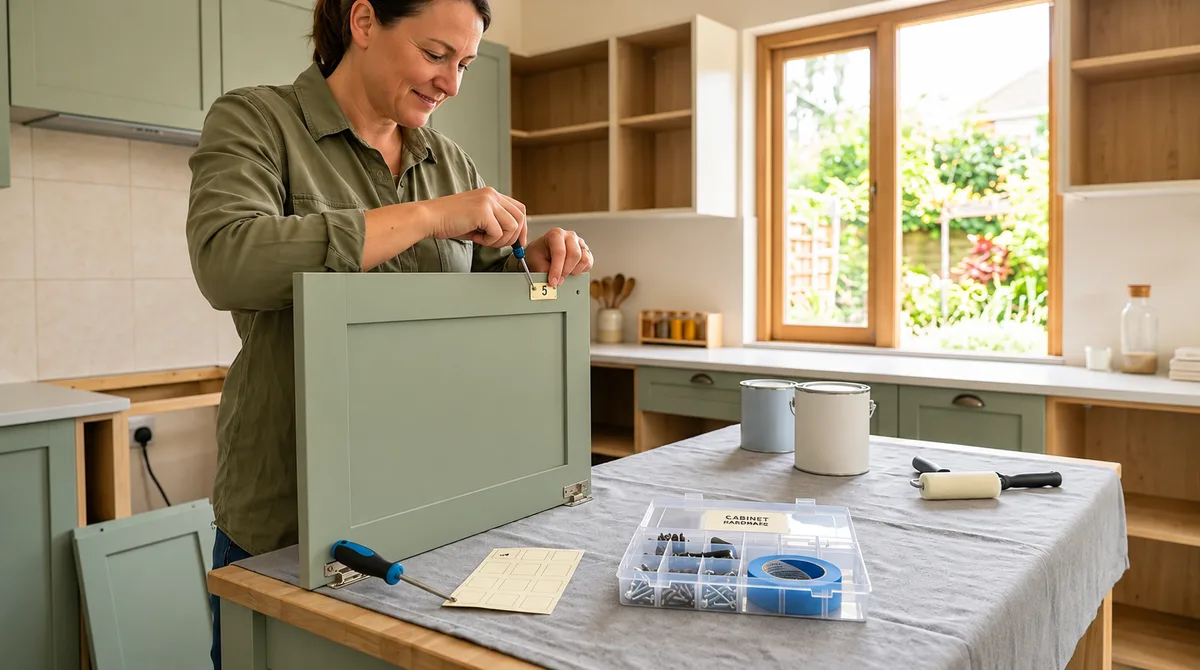
1. Remove Doors, Drawers, and Hardware
Empty the cabinet shelves and remove the doors, drawer faces, and handles. Use painter's tape to label each door and drawer with a unique coordinate number (e.g., "Upper Left 1", "Base Island 2"). Write the matching code inside the hinge cup pocket. Place the corresponding hinges and screws into separate labeled bags to prevent mix-ups during final reassembly.
2. Degrease and Wash Every Surface
Wash all doors, drawer fronts, and face frames with your degreasing solution. Pay special attention to areas around stove exhausts, drawer pulls, and edge seams where cooking grease concentrates. Rinse thoroughly with clean warm water to eliminate soap films, and allow the surfaces to dry completely for several hours.
3. Repair Imperfections and Scuff Sand
Fill gouges, scratches, and outdated handle screw holes with a two-part wood filler. Once cured, sand the patches flush. Next, lightly scuff sand all surfaces with 180-to-220 grit sandpaper. You do not need to strip down to bare wood—your objective is simply to remove surface gloss and create microscopic tooth for primer adhesion. Vacuum all sanding dust and wipe down with a tack cloth.
How to Paint Kitchen Cabinets Step by Step
Work in a clean, dust-free environment with good cross-ventilation. Keep your workspace temperature between 18°C and 24°C (65°F–75°F) for optimal paint leveling.
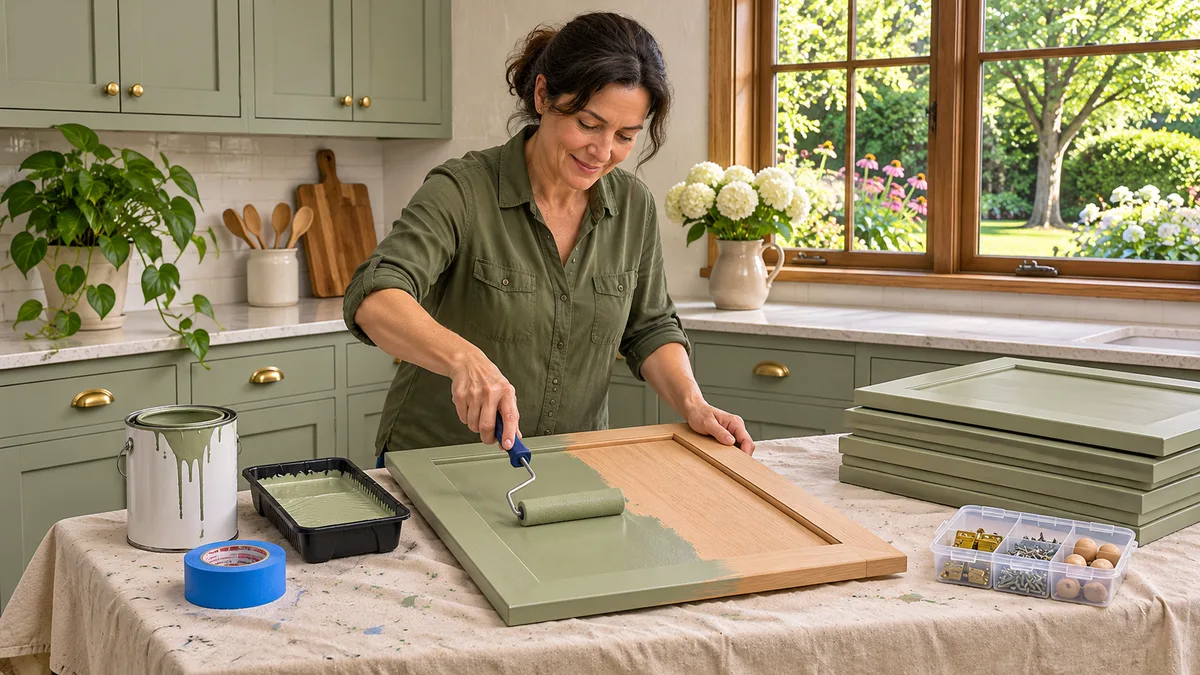
Step 1: Apply a High-Adhesion Primer
Stir your primer thoroughly. Use an angled sash brush to coat recessed door details, profiled grooves, and inner corners. Immediately follow with a high-density foam mini-roller across the flat outer panels to smooth out brush strokes.
Allow the primer to dry according to the can instructions (usually 3 to 4 hours). Once dry, lightly glide a 220-grit sanding sponge over the primed surface to knock down raised wood grains or dust nibs. Wipe clean with a microfiber cloth.
Step 2: Lay Down the First Coat of Enamel
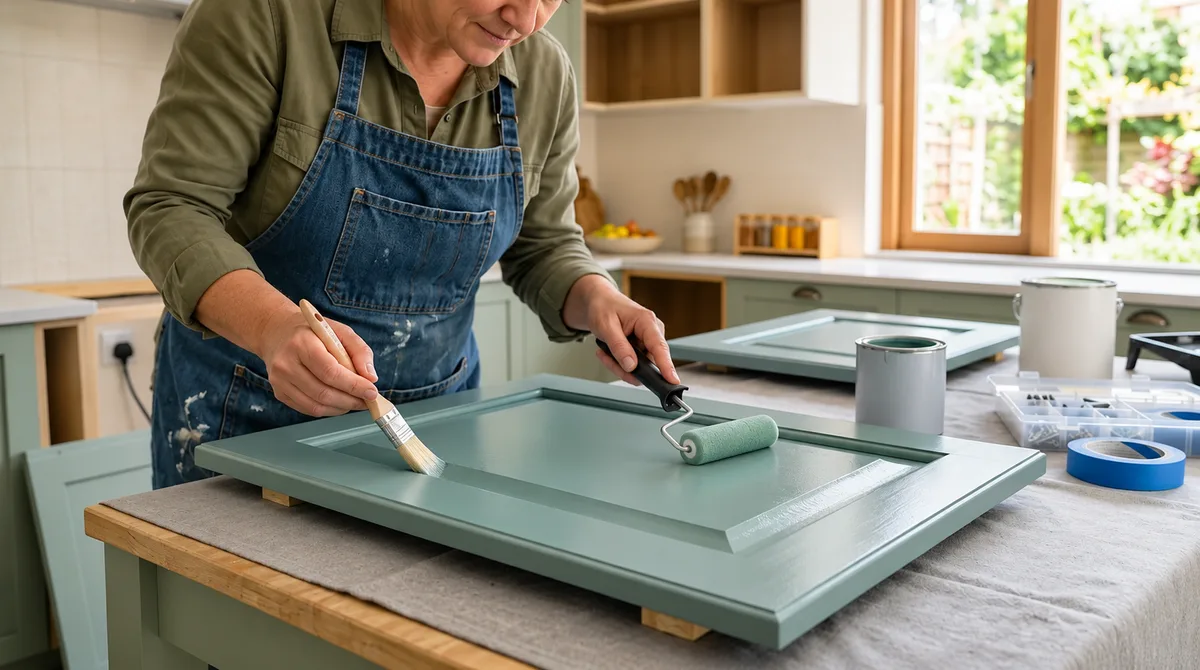
Pour your enamel into a shallow tray. Apply paint to the door edges and crevices first with your angled brush, then roll the flat faces with smooth, overlapping vertical passes. Maintain a wet edge and avoid over-working areas where the paint has already begun to tack up.
Leave the doors flat on drying pyramids or elevated painter's blocks so gravity helps self-level the enamel without running down vertical edges.
Step 3: Sand Gently and Apply the Second Coat
Allow the first coat to dry for the full recommended window (typically 12 to 24 hours for cabinet enamels). Lightly sand with 320-grit ultra-fine paper to remove any trapped dust flecks, then wipe away all residue. Apply your second thin coat using identical brush-and-roller techniques. If you are transitioning from dark wood to a crisp white or pastel, a third thin coat may be necessary for complete opacity.
Step 4: Allow Adequate Cure Time Before Reassembly
Drying is not curing. While cabinet paint may feel dry to the touch in a few hours, waterborne alkyds and urethane enamels require 7 to 14 days to fully cure and cross-link to maximum hardness.
Wait at least 48 to 72 hours before reattaching hinges and hanging doors. Add small clear silicone bumpers to the back corners of all doors to prevent fresh paint from sticking to face frames when shut.
Watch Out for Wet Reassembly
Rehanging doors before the paint has hardened can crack the hinge edges and cause the doors to stick permanently to the cabinet carcass. Treat freshly painted cabinets with extra care for the first two weeks.
Common Mistakes to Avoid
- Skipping the Degreaser: Household dust and cooking oils act as a release agent, causing new paint to bubble or peel away under fingertip pressure.
- Applying Overly Thick Coats: Heavy paint layers run, form unsightly drips along bottom bevels, and take weeks to dry internally.
- Using Standard Wall Latex: Wall emulsion is too flexible and porous for kitchen cabinetry; it softens under hand oils and chips when cleaned.
- Neglecting to Label Door Locations: Rehanging twenty unmarked doors with mismatched hinge pockets turns reassembly into a frustrating jigsaw puzzle.
Frequently Asked Questions
Can you paint kitchen cabinets without removing the doors?
While technically possible, painting doors in place is strongly discouraged. Paint will inevitably drip down vertical surfaces, pool inside hinge hardware, and leave raw, unpainted edges where door bevels meet the frame. Taking doors down and painting them horizontally yields vastly superior results.
Can you paint laminate or melamine kitchen cabinets?
Yes. Laminate cabinets can be painted successfully if you scuff the plastic veneer with 150-grit sandpaper and apply a dedicated solvent-based or shellac-based bonding primer designed specifically for non-porous surfaces before topcoating.
Do I need to paint the inside of my kitchen cabinets?
Painting interior shelves is optional. If the existing interior melamine or veneer is clean and in good structural condition, refreshing only the exterior doors, drawer fronts, and face frames saves significant time and prevents dishes from sticking to fresh paint.
Can I install new handles and pulls after painting?
Yes. Cabinet painting is the perfect time to modernize handles. If your new hardware uses different center-to-center hole spacing, fill the old drill holes with wood filler and sand them flush before priming.
When can I safely wash my freshly painted kitchen cabinets?
Avoid scrubbing or wiping painted cabinets with detergents for at least 21 to 30 days while the paint enamel cures to full chemical resistance. After that window, clean surfaces with a soft damp microfiber cloth and mild dish soap.
Related Articles
Explore more insights and stories from this category.
How to Build a Raised Garden Bed: A Step-by-Step DIY Guide
Learn how to build a raised garden bed with simple DIY steps. Explore material choices, soil preparation and practical tips for a sturdy garden space.
How to Wash Pillows Safely Without Damaging Them
Learn how to wash pillows without damaging their filling or shape. Discover how to clean pillows by material, choose the right method and dry them well.